
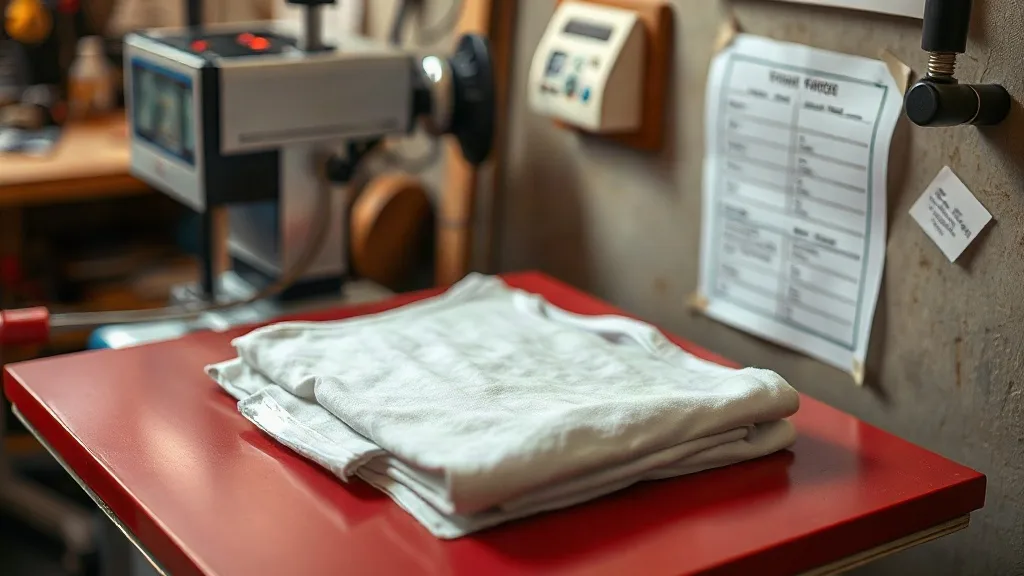
Most print failures blamed on film, powder, or ink turn out to be a press problem. You can buy premium dtf transfers and still watch a design lift at the edges after two washes if the heat press is running hot, cold, or uneven. The press is the last hands-on step before a garment leaves your shop, and it quietly decides whether everything upstream was worth the effort. This guide walks through the settings that matter, how to test them, and the small habits that keep results consistent from the first shirt of the morning to the last one at night.
Why press settings deserve their own checklist
DTF film carries a printed ink layer plus a fused adhesive powder layer. Heat does two jobs at once: it melts the adhesive so it bonds to the fabric, and it drives the ink into the weave. Too little heat and the powder never fully flows, so the print sits on top of the fabric and flakes off. Too much heat and the adhesive overcures, turning brittle, while the ink can lose elasticity and crack along stretch lines.
Pressure adds a second variable. Light pressure leaves air pockets between film and fabric. Heavy pressure can flatten the adhesive layer so thin that it loses grip, and on textured fabrics it pushes ink into valleys where it never bonds properly. The window between too little and too much is narrower than most people expect, which is why a written setting sheet beats memory every time.
That is also why two shops using identical dtf film and identical powder can report completely different durability. The difference is almost always in the press, not the consumables.
Starting numbers that work for most shops
Treat these as a baseline, not gospel. Every press runs a few degrees off its display, and every fabric blend behaves a little differently.
- Temperature: 150 to 160 degrees Celsius (300 to 320 Fahrenheit) for most cotton and poly-cotton blends.
- Time: 10 to 15 seconds for the main press, plus a short second press after peeling.
- Pressure: medium, roughly the point where you can just feel resistance closing the handle but the fabric is not crushed flat.
- Peel: warm peel for most films, cold peel for thicker adhesive systems. Check your film supplier's recommendation before assuming.
If you press at 170 degrees because it feels faster, you are trading a few seconds for a print that will crack in the wash. The extra time at a lower temperature is cheaper than a reprint.
Adjusting for polyester and blends
Polyester is heat sensitive. Above roughly 160 degrees, some poly fabrics develop a sheen or a slight scorch mark that no amount of cooling will remove. Drop to 145 to 150 degrees and add a couple of seconds to the dwell time. On 100 percent polyester, a pressing pillow or a folded towel inside the shirt helps the platen sit into the fabric instead of flattening it.
Tri-blends and 50/50 shirts behave somewhere in between. They tend to stretch more, so pressure matters as much as temperature. If a print on a tri-blend cracks across the chest after a few wears, the usual culprit is heavy pressure combined with a short press.
The second press most people skip
After the main press and the peel, the print still has a slightly raised, tacky surface. A second press of 5 to 8 seconds with a cover sheet or parchment protects the ink from sticking to the upper platen and settles the edges into the fabric. This step costs almost nothing and noticeably improves how a print feels and how it holds up.
Use a Teflon sheet or a piece of baking parchment. Do not press bare film against bare platen, and do not skip the cover on the second press, or you will leave a glossy mark on the design.
Pressure: the setting nobody measures
Most presses do not display pressure, so shops guess. A simple habit fixes that: keep a scrap of the fabric you print most often and press a test transfer whenever you change the pressure knob. If the print edges sink visibly into the weave and the fabric looks pressed flat and shiny, you are too heavy. If you can still see the film edge standing proud after peeling, you are too light.
For thick garments like hoodies, pressure needs to increase a little to reach the fabric surface, but temperature should not. Adding heat to compensate for a thick blank is a common mistake that leads to scorching on the outside and undercured adhesive underneath.
Building a settings log that actually gets used
A settings sheet only helps if it lives where the press lives. Tape a laminated card to the wall next to the machine with columns for fabric type, temperature, time, pressure feel, and peel type. When someone finds a combination that works, it goes on the card that day.
- Log the fabric brand and blend, not just "cotton."
- Note the press model, since platen size changes how heat reaches the edges.
- Record the wash test result after five cycles, not just the first impression out of the press.
- Date each entry so you can trace a problem back to a film or powder batch change.
After a few months, that card becomes the most valuable document in the shop. New staff can match a job to a proven setting instead of experimenting on a customer's order.
When a print fails, check the press before the film
Peeling at the corners after washing usually points to uneven pressure or a cold corner on the platen. Cracking across the middle of a design suggests overcuring or too much pressure on a stretchy fabric. A cloudy, dull finish often means the second press was skipped or the cover sheet was missing. Faint or patchy white areas can come from undercuring, where the powder never fully melted into the ink.
Before you blame a supplier, run the same design on the same fabric at three temperatures and compare after a wash cycle. Nine times out of ten the answer shows up in that test, and you save yourself a pointless argument and a reprint.
Matching press settings to the job, not the habit
Shops that print a wide range of garments need more than one setting. A heavy hoodie, a lightweight tri-blend tee, and a performance polo each want slightly different treatment. If you search for dtf transfers near me expecting a single answer for every fabric, you will be disappointed, because the right settings depend on what you are pressing, not on where the film came from.
The practical approach is to group your blanks into three or four families and give each family its own proven setting. Light cotton, heavy cotton, poly blend, and 100 percent polyester cover most orders. Once those four are dialed in and logged, most of the guesswork disappears from the press area.
FAQ
What temperature should I use for DTF transfers on a cotton t-shirt?
Start at 150 to 155 degrees Celsius for 10 to 12 seconds at medium pressure, then do a short second press of 5 to 8 seconds with a cover sheet. Adjust up slightly for heavy cotton and down for thin or heat-sensitive fabrics.
Why did my DTF print peel off after the first wash?
The most common causes are undercuring from too little heat or time, uneven pressure that left air under the film, or pressing on a fabric with a coating or finish that blocks adhesion. Wash the garment inside out in cold water and avoid fabric softener while you troubleshoot.
Can I press DTF transfers on polyester without scorching it?
Yes. Lower the temperature to around 145 to 150 degrees, extend the time slightly, and use a pressing pillow so the platen does not flatten the fabric. Always test on a scrap of the same blank before running a full order.
Do I need a second press after peeling the film?
It is strongly recommended. A 5 to 8 second press with a Teflon sheet or parchment settles the ink into the weave, removes the tacky surface, and improves wash durability. Skipping it often leaves a slightly raised, dull print.
How do I know if my press pressure is right?
Press a test transfer on your most common fabric. If the print sinks into the weave and the fabric looks shiny and flattened, reduce pressure. If the film edge still stands proud after peeling, increase it. Medium pressure where you feel resistance but the fabric is not crushed is the usual sweet spot.