
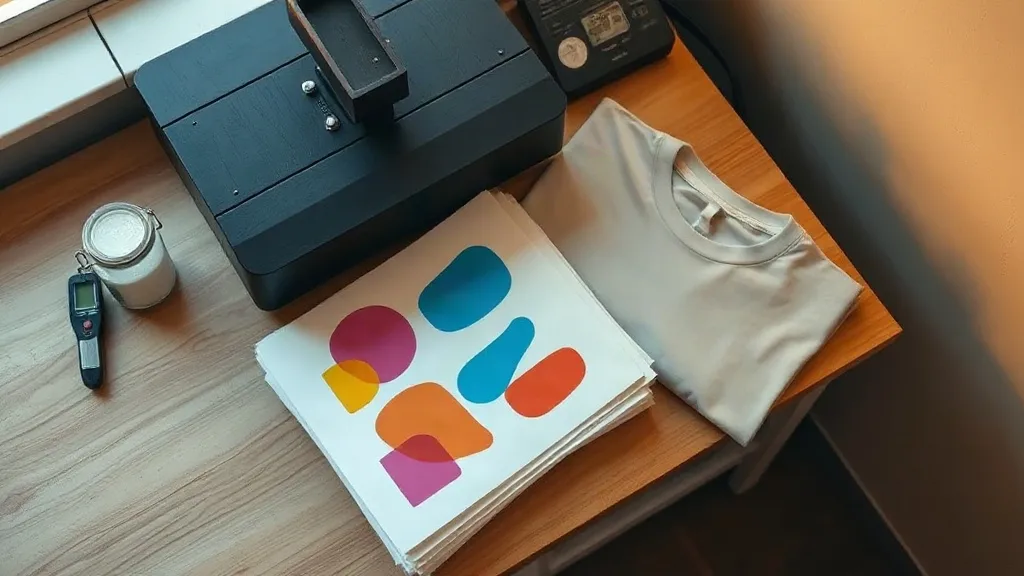
Walk into almost any small print shop today and you will find a heat press that was bought for vinyl or sublimation suddenly doing double duty for dtf transfers. The appeal is easy to understand: no weeding, no color limits, and a finished garment that feels soft enough for retail. But the gap between a decent first sample and a repeatable production process is wider than most tutorials admit, and that gap is where shops lose money. This guide is written from the perspective of someone running a few presses a day, not a factory floor, so the advice stays practical and the numbers stay honest.
What a DTF Transfer Actually Is
Direct-to-film printing separates the ink from the garment. A printer lays down CMYK plus white ink onto a coated PET film, the wet print gets dusted with a hot-melt adhesive powder, and the sheet is cured until the powder melts into a flexible layer. What you hold afterward is a transfer: pigment sandwiched between film and adhesive. When you press it onto fabric, the adhesive bonds to the fibers and the film peels away clean.
That construction explains most of the behavior you will see on the press. The white layer is what makes dtf work on dark shirts, and it is also the thickest part of the print. If a transfer feels stiff or cracks after washing, the white ink laydown and the powder cure are usually the first two suspects, not the fabric itself.
How It Differs From Vinyl and Sublimation
Vinyl is cut, weeded, and layered. It is brilliant for simple shapes and numbers, and painfully slow for anything with fine detail or gradients. Sublimation only bonds to polyester and leaves no hand feel at all, but it cannot put white on a black shirt. DTF sits between them: full color on almost any fabric, including cotton, blends, canvas, and even some nylons, with a slightly perceptible film on the surface.
For a shop doing mixed orders, that flexibility is the real selling point. You can keep one process for team jerseys, tote bags, and a last-minute birthday shirt without stocking five vinyl colors that may never get used again.
Choosing Film and Powder Without Wasting Money
Supplies are where margins quietly disappear. Two rolls of film can look identical on a listing and behave completely differently on the same printer.
- Cold-peel versus hot-peel film. Cold peel is more forgiving for beginners because the print cools before release, which reduces stretching. Hot peel speeds up production but punishes inconsistent pressure.
- Coating quality. Cheap film releases ink unevenly, and you will notice it as patchy white or a matte haze on the finished print. Buy a small roll first and test it before committing to a case.
- Powder mesh size. Finer powder gives a softer hand and better detail on small text; coarser powder bonds more aggressively on heavy fabrics like canvas. Keeping both on the shelf is cheaper than reprinting failed jobs.
- Storage. Film absorbs moisture. A sealed bin with a desiccant pack will save you from mysterious adhesion failures during humid weeks.
One habit worth building early: label every new supply with the date it was opened and the printer settings used on the first successful test. When a job fails three months later, that note tells you whether the problem is the material or the press.
Press Settings That Produce Repeatable Results
Most DTF failures trace back to three variables: temperature, pressure, and time. The tricky part is that they interact, so changing one without the others creates new problems.
Temperature
Cotton and cotton blends generally press well around 150 to 160 degrees Celsius. Polyester needs more caution because heat can cause dye migration, where the garment's own color bleeds up through the white layer. A lower temperature with a longer dwell, plus a quality transfer, usually beats a hot, fast press on polyester.
Pressure
Medium, even pressure is the target. Too little and the adhesive never fully contacts the fibers, so edges lift after the first wash. Too much and the print flattens into the weave, which looks sharp at first and then cracks along fold lines. If your press has a pressure gauge, note the setting that works and stop adjusting it by feel.
Time and Peel
Follow the film manufacturer's dwell time, then let the transfer cool if it is a cold-peel product. Peeling hot film too early stretches the adhesive layer and leaves a wrinkled edge. A simple timer on the press station removes the guesswork and keeps two operators producing identical results.
Common Problems and What They Usually Mean
After a few hundred presses, patterns emerge. These are the issues that come up most often in small shops.
- Edges lifting after washing. Almost always insufficient pressure or a dwell time that was too short. Check the corners of the transfer before blaming the garment.
- Cracking across the chest. Often too much pressure combined with a heavy white layer. Try a thinner white laydown or a softer powder.
- Patchy, grainy white. Moisture in the film or a cure that did not fully melt the powder. Dry your storage and verify cure temperature with a laser thermometer rather than the press display.
- Color shifting on dark polyester. Dye migration. Lower the temperature, shorten the time, and consider a barrier layer for problematic garments.
- Print sticking to the film during peel. Usually under-cured powder. The adhesive did not melt enough to release cleanly.
Keep a small notebook at the press with these symptoms and the fix that worked. New employees learn faster from your own log than from any manual.
Pricing Jobs So the Numbers Hold Up
It is tempting to price DTF by the square inch and call it a day. That works until you account for waste. A realistic cost per print includes film, powder, ink, the electricity for curing, and the labor for trimming and pressing. Add a waste factor of roughly ten to fifteen percent, because test prints and mispresses are part of the process, not exceptions to it.
For small orders, minimum charges protect you. A single shirt with a large back print can consume twenty minutes of press time plus setup, and pricing it like a bulk run quietly erodes your hourly rate. Many shops set a minimum order value rather than a minimum quantity, which feels fairer to walk-in customers.
When Customers Ask for Local Service
Plenty of buyers search for dtf transfers near me because they want a fast turnaround or a chance to see a sample in person before committing to a bulk order. If you offer local pickup, make that visible: a short note on your order page about same-week turnaround and in-person sampling does more for conversion than another photo of a finished shirt.
For shops that print their own transfers, the same logic applies to sourcing. Ordering from a supplier you can reach by phone shortens the feedback loop when a batch behaves oddly, and that matters more than saving a few cents per sheet.
Building a Workflow That Scales Past One Person
A single operator can manage a surprising volume with a clean station layout. Group tasks instead of finishing one shirt at a time: print a batch, powder the batch, cure the batch, then press everything in one run. Each stage uses different equipment, and switching between them constantly is where the hours vanish.
Label finished transfers with the order number and garment type. A transfer that sits unlabeled on a shelf for two days is a coin flip when it finally reaches the press, and reprints on rush orders hurt more than the original mistake.
Frequently Asked Questions
Can DTF transfers be applied to 100 percent cotton shirts?
Yes, and cotton is one of the friendliest surfaces for the process. The adhesive bonds well to natural fibers, and you avoid the dye migration risk that comes with dark polyester. Use medium pressure and the film maker's recommended temperature, then wash-test one sample before running a full order.
How long do DTF prints last after washing?
With correct pressing and proper care, most prints hold up through dozens of wash cycles. Turn garments inside out, use cold water, and skip the dryer's high heat setting. The two habits that shorten print life fastest are hot drying and ironing directly over the printed area.
Do I need a special printer to make my own transfers?
You need a printer designed for DTF, or a converted model with the right ink set and a white ink channel. Standard office printers cannot handle the pigment and white laydown. Many small shops start by ordering finished transfers and only invest in their own printer once volume justifies the maintenance routine.
Why does my transfer look dull after pressing?
Dullness usually means the powder did not fully melt or the press temperature was too low for the film. Check the cure with an infrared thermometer, confirm the dwell time, and make sure the film is dry. If the problem persists, test a different powder batch before changing your press settings.