
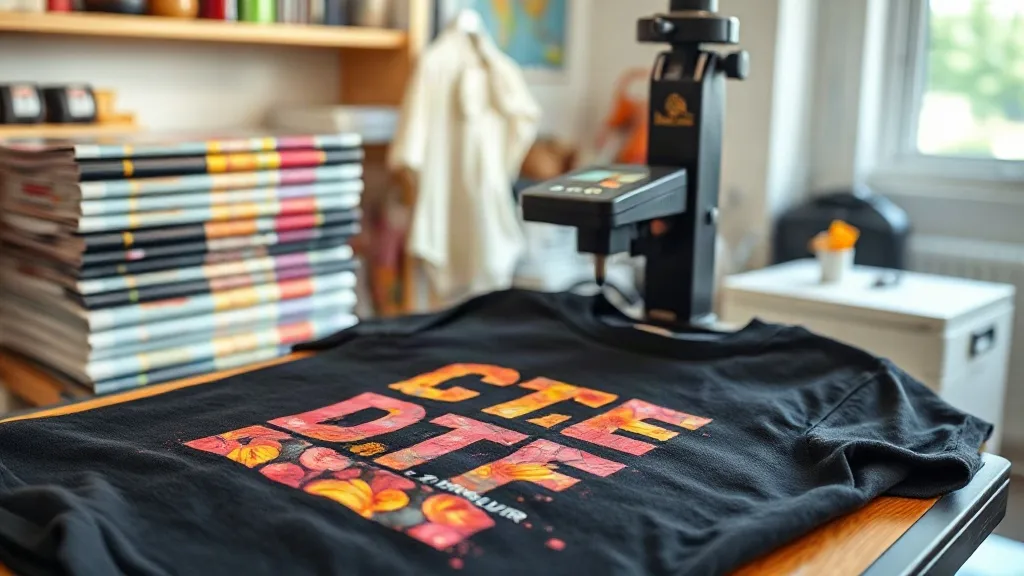
Imagine pressing a vibrant, full-color design onto a cotton tote bag or a polyester jersey in minutes, without the hassle of weeding or layering. That's the promise of dtf printing, a technology that has rapidly become a favorite among crafters and small businesses. Unlike traditional methods, dtf transfers allow you to print intricate details on almost any fabric, opening up a world of creative possibilities. Whether you're a hobbyist or a seasoned pro, understanding the ins and outs of DTF can elevate your projects.
In this guide, we'll walk you through what DTF transfers are, why they're gaining popularity, and how to apply them like a seasoned professional. We'll also share troubleshooting tips and answer common questions to help you avoid pitfalls. By the end, you'll have the confidence to incorporate DTF into your workflow and achieve stunning, durable results.
What Are DTF Transfers?
DTF stands for Direct to Film. It's a printing process where your design is printed onto a special PET film using a DTF printer. The printer lays down a layer of white ink, followed by CMYK colors, and then a powdered hot-melt adhesive is applied to the wet ink. Once the powder is cured, you have a flexible, ready-to-use transfer. When you're ready to apply it, you simply heat press it onto your fabric. The adhesive melts, bonding the ink to the material.
The key difference between DTF and other methods like DTG (Direct to Garment) or vinyl is the transfer step. With DTF, you can print on a wide range of fabrics, including cotton, polyester, blends, and even nylon. This versatility is a game-changer for those who work with diverse materials.
How DTF Transfers Differ from Other Methods
Compared to screen printing, DTF requires no setup for each color, making it cost-effective for small batches and complex designs. Unlike sublimation, which only works on light-colored polyester, DTF can be used on dark cottons and other fabrics. And unlike vinyl, there's no weeding involved, saving you hours of tedious work. The ability to produce full-color, photographic-quality images on demand makes DTF a standout choice.
The Anatomy of a DTF Transfer
A DTF transfer consists of several layers: a clear PET film, a white ink base (which acts as a primer and opacity layer), the colored ink design, and the adhesive powder. The white layer is crucial for vibrant colors on dark garments. The adhesive powder ensures strong bonding during heat application.
Why Choose DTF Transfers?
There are several compelling reasons to consider DTF for your next project. First, the color vibrancy is exceptional. Because the white ink base is printed first, colors pop even on black or navy fabrics. Second, the detail resolution is high, allowing for fine lines and gradients that other methods might struggle with.
Third, DTF transfers are incredibly durable. When applied correctly, they withstand repeated washing without cracking or fading. The stretchability of the transfer also means it moves with the fabric, reducing the risk of peeling. Finally, the process is efficient for small to medium runs, as you can print multiple designs at once and store them for later use.
Cost-Effectiveness for Small Businesses
For small businesses, DTF offers a low barrier to entry. You don't need expensive screens or a large inventory of vinyl colors. A single DTF printer and a heat press can handle a variety of orders. The ability to print on demand reduces waste and allows for quick turnaround times, which is essential for custom orders.
Fabric Compatibility
One of the biggest advantages is the wide range of fabrics you can use. Cotton, polyester, cotton-poly blends, canvas, denim, and even leather can all receive DTF transfers. This flexibility means you can offer your customers more options without investing in multiple printing technologies.
How to Apply DTF Transfers: Step-by-Step
Applying a DTF transfer is straightforward, but following the correct steps ensures a professional finish. Here's what you need to do:
- Preheat your heat press. Set the temperature to around 300-325°F (150-160°C) and preheat the garment for a few seconds to remove moisture.
- Position the transfer. Place the DTF transfer on the fabric with the printed side facing up. The film should be on top.
- Press. Apply medium to firm pressure for 10-15 seconds. The exact time may vary depending on your press and fabric, so test with a scrap piece first.
- Peel. Wait a few seconds for the transfer to cool slightly, then peel off the film in a smooth, consistent motion. If the design lifts, press again for a few more seconds.
- Post-press. For added durability, cover the design with a Teflon sheet or parchment paper and press for another 5-10 seconds.
Temperature and Pressure Settings
Getting the settings right is crucial. Too little heat and the adhesive won't activate; too much and the film may warp or the ink may scorch. Always check the instructions provided with your transfers. As a general rule, cotton requires slightly higher heat than polyester. Pressure should be firm enough to embed the transfer but not so hard that it flattens the fabric.
Peeling Techniques: Hot vs. Cold
Some DTF transfers are designed for hot peel, meaning you remove the film immediately after pressing while it's still hot. Others require a cold peel, where you wait until the transfer is completely cool. Most modern DTF transfers are hot peel for efficiency, but always verify to avoid ruining your design.
Common Mistakes and How to Avoid Them
Even with the best intentions, things can go wrong. Here are a few common pitfalls and their solutions:
- Insufficient pressure: If the transfer doesn't adhere fully, increase pressure. Uneven pressure can cause parts of the design to lift.
- Wrong temperature: Too low and the adhesive won't melt; too high and the film may shrink. Use an infrared thermometer to verify your press's actual temperature.
- Peeling too early or too late: Follow the recommended peel method. Hot peel should be done immediately, cold peel after cooling.
- Not pre-pressing: Moisture in the fabric can create steam and prevent proper adhesion. Always pre-press for 5-10 seconds.
- Using the wrong film side: The printed side must face up. If you place it upside down, the design will stick to the press.
By being mindful of these issues, you can achieve consistent, high-quality results.
DTF Transfers in Action: Real-World Applications
DTF transfers are used in a variety of settings. Custom apparel shops use them for team jerseys, event t-shirts, and promotional items. Crafters love them for personalizing gifts like tote bags, pillowcases, and onesies. Even large brands use DTF for sample production and limited editions. The ability to print detailed, multi-color designs quickly makes DTF a versatile tool.
Case Study: A Small T-Shirt Business
Take the example of a small online store that specializes in custom pet portraits. They switched from vinyl to DTF and saw a 40% reduction in production time. The DTF transfers allowed them to capture the fine details of each pet's fur, resulting in happier customers and more repeat orders.
Creative Ideas for DTF Transfers
Beyond t-shirts, consider applying DTF transfers to denim jackets, canvas shoes, backpacks, and even wood signs (with appropriate adhesive). The possibilities are endless.
Frequently Asked Questions About DTF Transfers
How durable are DTF transfers?
When applied correctly, DTF transfers are highly durable. They can withstand 50+ washes without significant fading or cracking. Proper washing inside out in cold water and avoiding harsh detergents will extend their life.
Can I use DTF transfers on dark fabrics?
Absolutely. DTF transfers include a white ink base that makes colors vibrant on dark fabrics. This is one of their main advantages over other methods like sublimation.
Do I need a special printer for DTF?
Yes, you need a DTF printer that uses DTF ink and can handle the white ink layer. However, you can also purchase pre-printed DTF transfers from suppliers if you don't want to invest in a printer.
What is the best way to store unused DTF transfers?
Store them in a cool, dry place away from direct sunlight. Keep them flat to prevent curling. Properly stored transfers can last for several months.
Can I layer DTF transfers?
Yes, you can layer DTF transfers, but it's best to press each layer separately. Use a lower temperature for the second press to avoid disturbing the first layer. Alternatively, you can design your artwork with all elements in one transfer.
With these insights, you're well on your way to mastering DTF transfers. Remember, practice makes perfect, so don't be afraid to experiment. Happy printing!