
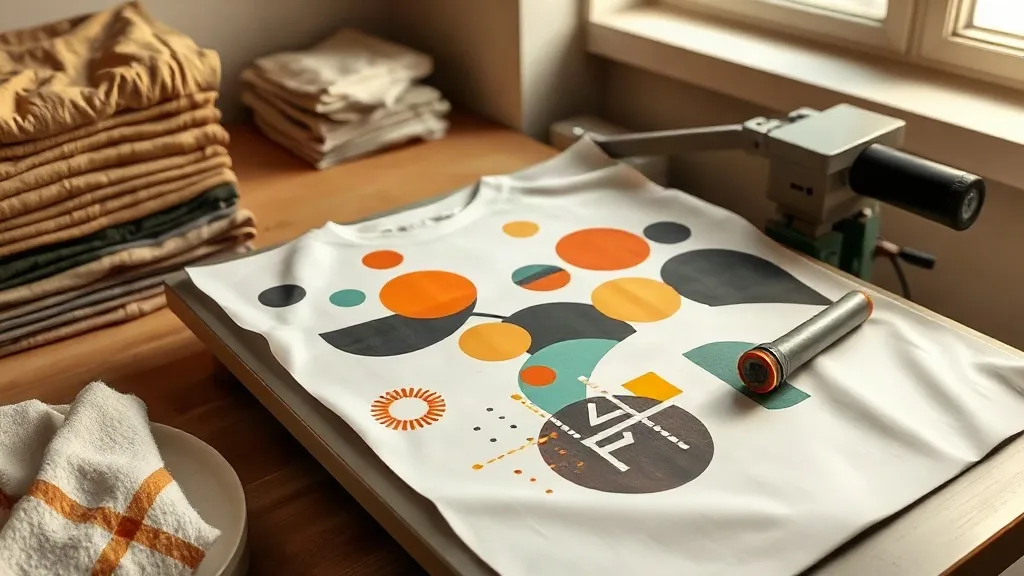
Most print shops learn the hard way that a blank is never just a blank. You quote a job on shaka wear tees because the customer asked for a heavy, boxy streetwear fit, then the first press run reveals something the spec sheet never told you: the fabric has a mind of its own. If you have ever peeled a transfer off a heavyweight cotton tee and watched the edges curl before the shirt even cooled, you already know what this article is about. Here is how to work with these blanks instead of fighting them.
Why Shaka Wear Blanks End Up in So Many DTF Jobs
Walk through any streetwear-heavy neighborhood and count the blank tags. Shaka Wear shows up constantly, and there are practical reasons for that. The brand leans into oversized cuts, heavier cotton weights, and a price point that lets small labels run real inventory instead of sample-only drops. When a customer says they want a tee that hangs like a vintage skate shirt, this is often the blank they already have in mind.
For a DTF shop, that popularity cuts both ways. You will get repeat orders on the same blank, which is good for dialing in your press settings. But you will also get customers who bought blanks themselves and show up with a mixed bag of colors, weights, and washes, expecting one transfer recipe to work across all of them.
The fabric traits that actually matter for DTF
DTF film does not care about brand names. It cares about three things: surface texture, heat tolerance, and how much moisture the fabric holds. Heavyweight cotton with a tight knit is generally forgiving. Ring-spun or brushed surfaces can hold a softer hand feel but may need slightly more pressure to get full adhesive contact. Heathered blends introduce polyester content, which changes how the powder melts and how the print stretches.
Before you commit to a press setting for an entire run, press one test transfer on an offcut or a seconds-grade blank from the same batch. Two minutes of testing saves twenty minutes of reprinting.
Preparing Shaka Wear Blanks Before the Transfer Goes Down
The single most common cause of a failed DTF application is not the transfer at all. It is moisture and surface residue. New blanks ship with sizing agents and finish treatments that sit on the surface and block the adhesive from bonding properly.
- Pre-press every shirt. Five to eight seconds at press temperature with the shirt flat removes ambient moisture and relaxes the weave.
- Skip the fabric softener conversation. If a customer washed the blank at home first, ask. Softener residue is a silent killer of adhesion.
- Watch the seams and hems. Oversized cuts often have thicker double-stitched hems that create a ridge under the film. Use a pressing pad or a folded piece of butcher paper to level the surface.
- Lint roll the print area. Cotton fibers trapped under the film show up as tiny white specks after peeling, and they are permanent.
Press settings to start from, not to trust blindly
A reasonable starting point for heavyweight cotton is around 300 to 320 degrees Fahrenheit, medium pressure, and eight to twelve seconds for the transfer, followed by a five-second cold peel. For blends with higher polyester content, drop the temperature slightly and extend the time. These are starting points, not commandments. Your press, your platen cover, and your film brand all shift the numbers.
Layout Strategy: Building Smarter Gangsheets
This is where the money is made or lost. A DTF Gangsheet Builder lets you pack multiple designs onto a single sheet, and the shops that profit most from DTF are the ones that treat sheet layout as a design discipline rather than an afterthought.
Consider a typical order: twelve shirts, three designs, mixed sizes. If you build three separate sheets, you pay for three setups and waste the margins. If you nest the designs intelligently, you fit the same job onto one sheet with room left over for a few single-color add-ons that sell as impulse items.
Nesting rules that hold up in practice
- Group by color count. Designs with the same ink profile can share white underbase settings, which keeps the sheet consistent.
- Rotate to fill gaps, but never rotate a design with directional text or a clear top and bottom.
- Leave a consistent gutter between designs. Tight packing looks efficient until the cutter clips a neighboring print.
- Place the largest designs first and fill around them. Starting with small items almost always leaves awkward dead space.
- Reserve a corner for test prints and color swatches so you can verify the sheet without sacrificing a sellable unit.
If you are running a DTF Gangsheet Builder for the first time, build one sheet with deliberate empty space and compare the cost per print against your usual haphazard layout. The difference is usually obvious enough to change how you work.
Where Print Shops Lose Money on These Jobs
Three mistakes show up again and again in shops that are new to DTF on heavyweight blanks.
The first is underquoting because the blank cost felt high. Heavy tees cost more than standard blanks, so shops trim the print margin to keep the total attractive, then discover the job takes longer because the fabric needs extra prep. Price the labor, not just the materials.
The second is assuming every shaka wear style behaves identically. A heavyweight tee and a lighter fashion cut from the same brand can need different pressure and dwell time. Treat each style as its own recipe and write the settings down.
The third is skipping the wash test on a new blank and film combination. A print that looks perfect off the press can fail after two home launderings if the adhesive never fully bonded. Wash one sample inside out, cold water, and check the edges before you ship a hundred units.
Selling the Finish, Not Just the Print
Customers buying on these blanks are usually buying a look, not a printing method. That gives you room to guide them. A large back print with a small chest hit reads differently on an oversized cut than on a fitted tee, and a soft-hand DTF transfer preserves the drape that made them choose the blank in the first place.
Show them the difference. Keep two sample shirts on the counter: one with a thick, plasticky print and one with a properly pressed DTF transfer on the same blank. The conversation ends itself. This is also a good moment to mention care instructions, since a customer who washes a DTF print correctly comes back for more, and one who ruins it in a hot dryer tells everyone the print was bad.
Care instructions worth printing on a card
Wash inside out in cold water, skip fabric softener, tumble dry low or hang dry, and never iron directly on the print. A small card in every order costs pennies and prevents most complaints before they start.
Frequently Asked Questions
Can you DTF print on 100 percent cotton Shaka Wear tees?
Yes, and cotton is generally the easiest surface for DTF. The adhesive bonds well to cotton, the print stretches with the fabric, and the hand feel stays soft after washing. Just pre-press to remove moisture and lint roll the print area before applying the transfer.
What temperature should I use for DTF on heavyweight Shaka Wear blanks?
Start around 300 to 320 degrees Fahrenheit with medium pressure and a eight to twelve second press, then cold peel. Heavier fabric absorbs heat slowly, so if the transfer edges look dull or peel unevenly, add a couple of seconds rather than cranking the temperature up.
How many designs fit on one gangsheet for a small order?
It depends on print size, but a standard sheet can typically hold a mix of several chest prints and a couple of back prints if you nest carefully. Build the largest designs first, keep consistent gutters, and leave room for test swatches so you do not sacrifice a sellable print to verify color.
Why is my DTF transfer peeling after washing on these shirts?
In most cases the cause is moisture or surface residue at press time, or insufficient pressure across the whole print area. Re-check your pre-press step, make sure the shirt is completely flat, and verify that the platen pad is level. Fabric softener residue from a home-washed blank is another frequent culprit.
Do oversized cuts need different press settings than standard tees?
The fabric weight matters more than the cut, but oversized styles often use thicker hems and seams that create ridges under the film. Use a pressing pad to level those areas, and press seams with a slightly longer dwell so the adhesive fully contacts the uneven surface.