
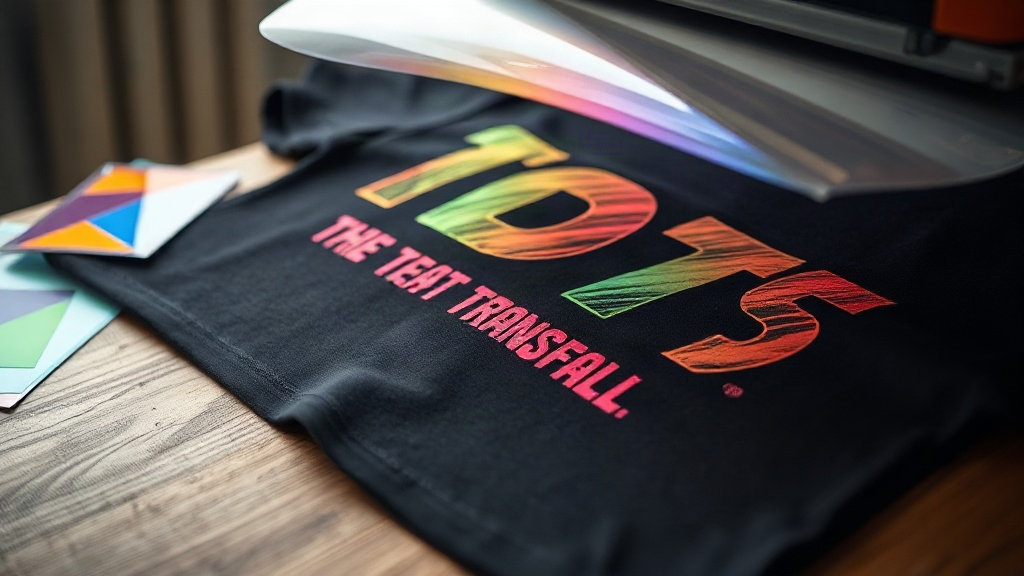
If you've ever admired a vibrant, detailed print on a custom t-shirt and wondered how it was made, chances are it involved DTF transfers. Direct-to-film printing has taken the apparel decoration world by storm, and for good reason. Unlike traditional methods that limit your fabric choices or require minimum orders, DTF transfers offer flexibility, durability, and stunning color reproduction. Whether you're a small business owner, a DIY enthusiast, or just curious about custom apparel, understanding DTF transfers can open up a world of creative possibilities. In this guide, I'll walk you through the entire process, share practical tips, and help you avoid common pitfalls. By the end, you'll be ready to create your own professional-looking prints at home or in your shop.
What Are DTF Transfers?
DTF stands for Direct-to-Film. It's a printing technique where your design is printed onto a special PET film using water-based pigments, then coated with a hot-melt adhesive powder. Once the powder is cured, the transfer is ready to be applied to fabric using a heat press. The magic happens when heat and pressure release the design from the film, bonding it permanently to the material. Unlike DTG (Direct-to-Garment) printing, which requires the garment to be pre-treated and can only be done on certain fabrics, DTF transfers work on virtually any material: cotton, polyester, blends, nylon, leather, and even wood. This versatility is a game-changer for anyone who wants to print on a wide range of products without investing in multiple printing systems.
How DTF Transfers Differ from Other Methods
Compared to screen printing, DTF transfers don't require separate screens for each color, making them cost-effective for small batches and detailed designs. Unlike vinyl cutting, DTF transfers can reproduce complex gradients, photographs, and fine details with ease. And unlike DTG, you don't need to pre-treat the garment, which saves time and avoids messy chemicals. The result is a soft, stretchable print that feels like part of the fabric, not a plastic layer on top.
The DTF Transfer Process Step by Step
Understanding each stage helps you troubleshoot and achieve consistent results. Here's a breakdown of the workflow.
1. Design Preparation
Start with a high-resolution image (300 DPI is ideal). DTF printers use CMYK plus white ink, so your design should be in CMYK color mode. If your design has transparent areas, they will remain unprinted, allowing the fabric color to show through. However, for light-colored garments, you may want to add a white underbase to make colors pop. Most RIP software handles this automatically, but it's good to know.
2. Printing onto Film
The printer lays down the colored inks first, followed by a layer of white ink. The white ink acts as a base, ensuring the colors remain vibrant even on dark fabrics. The film is then sent through a powder shaker that applies hot-melt adhesive powder evenly across the wet ink. Excess powder is removed, and the film is cured in a conveyor oven or heat press to melt the powder into a smooth, dry layer. The transfer is now ready to use or can be stored for later.
3. Applying the Transfer
Application is straightforward but requires attention to temperature, pressure, and time. Here are the general steps:
- Preheat your heat press to the recommended temperature (usually 300-325°F or 150-160°C).
- Place the garment on the press and pre-press for a few seconds to remove moisture and wrinkles.
- Position the DTF transfer film on the garment with the printed side facing up.
- Press with medium to firm pressure for 10-15 seconds.
- Allow the transfer to cool completely before peeling the film. For a matte finish, peel while hot; for a glossy finish, peel after cooling. (Check your film's instructions.)
- For added durability, cover the design with a sheet of parchment paper and press again for 5-10 seconds.
Always test on a scrap piece of fabric first to dial in your settings.
Why Choose DTF Transfers?
There are several compelling reasons to consider DTF for your next project.
- Fabric versatility: Works on cotton, polyester, blends, and even non-traditional materials like leather and canvas.
- No pre-treatment: Saves time and avoids chemicals.
- Vibrant colors: The white underbase ensures bright, opaque prints on dark garments.
- Fine detail: Ideal for complex designs, gradients, and photographs.
- Cost-effective for small runs: No setup fees or minimums, making it perfect for one-offs or small batches.
- Durability: When applied correctly, DTF prints withstand repeated washing without cracking or fading.
Common Challenges and How to Overcome Them
Even with a solid understanding, you might run into issues. Here are some common problems and solutions.
Transfer Not Sticking
If the transfer peels off after washing, it's likely due to insufficient pressure, incorrect temperature, or incomplete powder curing. Ensure your heat press is calibrated and apply firm pressure. Also, make sure the powder is fully melted during the curing step; undercured powder won't bond properly.
Colors Look Dull
Dull colors often result from too little white ink or improper powder application. Check your printer's white ink density and ensure the powder is evenly distributed. Also, verify that your garment is clean and free of fabric softeners, which can interfere with adhesion.
Film Peeling Difficulties
If the film won't peel cleanly, it may be due to overheating or cooling too long. Try adjusting the peel temperature: some films require hot peel, others cold. Experiment to find what works for your film brand.
Cracking Over Time
Cracking can occur if the transfer is stretched too much during application or if the garment is washed in hot water. Always follow care instructions: wash inside out in cold water, avoid bleach, and tumble dry low or hang dry.
Tips for Best Results
To get the most out of your DTF transfers, keep these tips in mind.
- Store unused transfers in a cool, dry place away from direct sunlight.
- Use a heat press rather than an iron for consistent pressure and temperature.
- Pre-press garments to remove wrinkles and moisture.
- Always do a test press on similar fabric before production.
- Keep your printer and powder shaker clean to avoid contamination.
- Invest in quality film and powder; cheap supplies often lead to poor results.
With practice, you'll develop a feel for the process and be able to produce professional-quality prints consistently.
Frequently Asked Questions
How long do DTF transfers last?
When applied correctly and cared for properly, DTF transfers can last as long as the garment itself. They withstand dozens of washes without significant fading or cracking. To maximize longevity, wash inside out in cold water and avoid high heat when drying.
Can I use DTF transfers on dark fabrics?
Absolutely. DTF transfers include a white ink layer that acts as a base, allowing vibrant colors to show up brilliantly on dark fabrics. This is one of the key advantages over other printing methods.
Do I need special equipment for DTF transfers?
You'll need a DTF printer, a powder shaker (or manual powder application), and a heat press. If you don't want to invest in a printer, you can buy pre-printed transfers from suppliers and just use a heat press to apply them.
What fabrics work best with DTF transfers?
DTF transfers adhere well to cotton, polyester, blends, nylon, leather, and more. They are particularly useful for polyesters and blends where other methods may struggle. However, fabrics with a heavy texture or coating may require testing.
How do I wash garments with DTF transfers?
Turn the garment inside out, wash in cold water with mild detergent, and avoid fabric softeners and bleach. Tumble dry on low or hang dry. Following these steps will keep your prints looking new for years.
DTF transfers have democratized custom apparel printing, making it accessible to small businesses and hobbyists alike. With the right knowledge and a bit of practice, you can achieve stunning, durable results on almost any fabric. So go ahead, unleash your creativity, and start printing like a pro.