
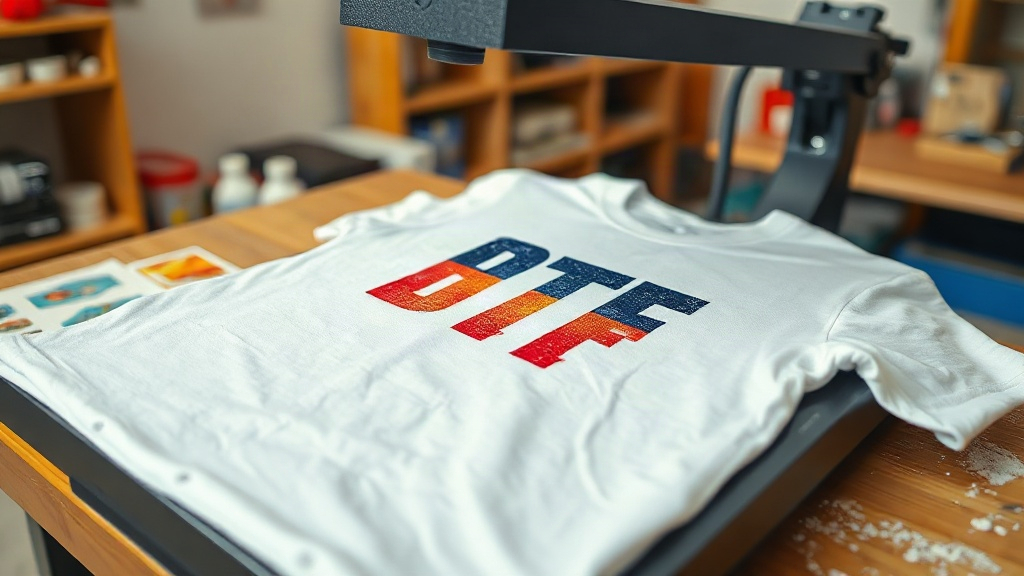
When you run a small print shop, every job has to count. You are constantly balancing quality, turnaround time, and cost. That is why many owners are turning to DTF Transfers as a reliable solution for custom apparel. Unlike traditional screen printing or vinyl, DTF (direct-to-film) transfers offer a unique blend of flexibility and durability that fits the rhythm of a busy shop. In this guide, I will share what I have learned from using DTF transfers daily, including the mistakes I made early on and how you can avoid them.
What Exactly Are DTF Transfers?
At its core, a DTF transfer is a printed design on a special film. The process uses a printer with pigment inks to print your artwork onto the film, then a powder adhesive is applied while the ink is still wet. After curing, the transfer is ready to be heat-pressed onto a garment. The result is a vibrant, stretchable print that bonds well to cotton, polyester, and blends. If you have ever struggled with weeding vinyl or clogged screens, DTF can feel like a breath of fresh air.
How DTF Differs from DTG and Vinyl
Direct-to-garment (DTG) printing requires a dedicated printer and pretreating, which can be messy and time-consuming. Vinyl cutting is great for simple one-color designs but becomes tedious for complex images. DTF sits in the sweet spot: you can print full-color, detailed artwork without pretreating, and you can press it onto almost any fabric. The transfers also have a soft feel and excellent wash durability when applied correctly.
Why Small Shops Are Embracing DTF Transfers
For a small shop, the appeal is obvious: no minimum orders, no color limitations, and the ability to produce one-off custom pieces or small batches without breaking the bank. You can print a single transfer for a sample and then scale up for a team order. The equipment cost is lower than a DTG printer, and you do not need a screen printing setup. Plus, DTF transfers allow you to offer services like personalized gifts, bachelorette party shirts, or corporate logos with ease.
Another advantage is the storage. You can print transfers in advance and store them for months, ready to press when an order comes in. This just-in-time production model reduces waste and lets you respond quickly to customer requests. I have found that having a library of pre-printed transfers for popular designs speeds up my workflow significantly.
Getting Started: Essential Equipment and Materials
To produce DTF transfers in-house, you will need:
- A DTF printer (or a converted inkjet printer with DTF inks)
- DTF film (usually PET film)
- DTF powder (hot-melt adhesive)
- A heat press
- A curing oven or heat gun
- Design software
If you are just starting, you might consider outsourcing your transfers to a dedicated supplier. Many shops begin by ordering transfers from a wholesale provider, then invest in their own printer once demand grows. This lowers the initial risk and lets you test the market.
Choosing the Right Printer and Inks
Not all DTF printers are created equal. Look for a printer that uses genuine DTF pigment inks, as third-party inks can clog printheads and produce inconsistent colors. Epson-based printers are popular for conversions because of their reliability. Also, consider the print width: wider printers (e.g., 24 inches) let you print larger designs or multiple transfers at once, saving time.
The Importance of Powder and Film Quality
Cheap film can cause static issues, curling, or poor ink adhesion. I learned this the hard way when I tried to save a few bucks on film; the transfers cracked after a few washes. Invest in reputable film and powder. The powder should be applied evenly; too much leads to a stiff feel, too little means the transfer peels off. A shaker machine helps, but you can start with a manual shaker and a tray.
Step-by-Step DTF Transfer Production
Here is a streamlined process that works for me:
- Prepare your artwork: mirror the image and ensure it is high resolution (300 DPI).
- Print onto DTF film using your printer's DTF settings.
- Apply DTF powder over the wet print, shake off excess, and return to the printer for a second pass if needed.
- Cure the powder: use a heat press at 320°F for 10-15 seconds or a curing oven at 320°F for 2-3 minutes.
- Allow the transfer to cool, then store in a dry place.
When you are ready to press, preheat your garment for 5-7 seconds to remove moisture. Place the transfer on the garment, cover with a Teflon sheet, and press at 320°F for 15-20 seconds with medium pressure. Peel the film cold or hot depending on the film type; most DTF films are cold peel. After peeling, press again for 5 seconds with a Teflon sheet to smooth the print.
Common Problems and How to Fix Them
Even with experience, issues arise. Here are some frequent ones and solutions:
- Transfer peels after washing: Likely insufficient powder or under-curing. Increase powder coverage and cure time.
- Cracking: Too much pressure during pressing or stretching the garment while hot. Let the garment cool before handling.
- Dull colors: Over-curing can burn the ink. Check your temperature and time.
- Film jams in printer: Static or humidity. Use anti-static sheets and store film properly.
I keep a log of each job's settings and results. This helps me troubleshoot quickly and maintain consistency.
Marketing DTF Transfers to Your Customers
Your customers may not know what DTF is, but they care about results: vibrant colors, soft feel, and durability. When explaining, focus on benefits. For example, "This print will stretch with the fabric and won't crack after repeated washes." Offer samples so they can feel the quality. Many of my clients become repeat customers after seeing how well the transfers hold up.
You can also upsell by offering personalization on items like tote bags, hats, and even leather patches. DTF transfers adhere to many surfaces, opening new revenue streams.
Frequently Asked Questions
How long do DTF transfers last on garments?
With proper application and care, DTF transfers can last as long as the garment itself. Wash inside out in cold water and avoid bleach and high heat in the dryer.
Can I use DTF transfers on dark and light fabrics?
Yes, DTF transfers work on both. The white ink layer in the print provides opacity on dark fabrics, while on light fabrics the colors remain vibrant.
Do I need a special printer for DTF?
You can convert an Epson printer with DTF inks and a RIP software, or buy a dedicated DTF printer. Many small shops start by outsourcing transfers to test demand.
What is the best temperature to press DTF transfers?
Most DTF transfers press at 320°F (160°C) for 15-20 seconds with medium pressure. Always check your film's instructions, as some vary slightly.
How should I store unused DTF transfers?
Keep them in a cool, dry place away from direct sunlight. A zip-lock bag or airtight container prevents moisture and dust from affecting the adhesive.